Introduction
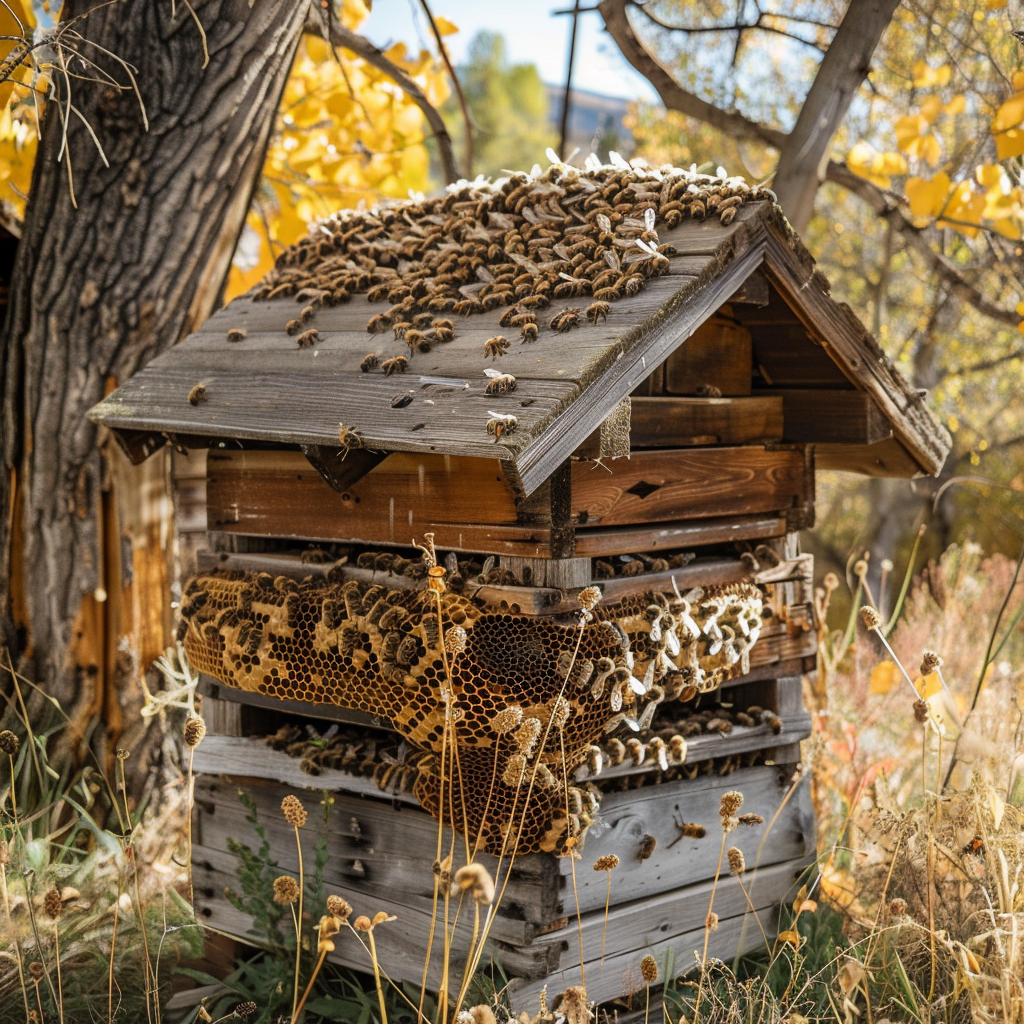
Welcome to our DIY Beehive Construction guide! If you’re interested in beekeeping and want to build your own beehive, you’ve come to the right place. In this article, we’ll provide you with a step-by-step guide on how to construct your own beehive, covering different types of hives, materials needed, and best practices for construction.
Types of Hives
Before you start building your beehive, it’s important to decide on the type of hive you want to construct. There are several types of hives to choose from, but the most common ones are:
Langstroth Hive
The Langstroth hive is the most popular type of hive used by beekeepers. It consists of stacked boxes, known as supers, which contain frames where bees build their comb and store honey. The Langstroth hive allows for easy inspection and management of the colony.
Top-Bar Hive
The top-bar hive is a horizontal hive that does not use frames. Instead, it has bars across the top where bees build their comb. This type of hive is popular among beekeepers who prefer a more natural and hands-off approach to beekeeping.
Warre Hive
The Warre hive is a vertical hive that uses top-bars similar to the top-bar hive. However, it also includes boxes that can be added to the bottom of the hive as the colony grows. The Warre hive aims to mimic the natural nesting habits of bees.
Materials Needed
Once you have decided on the type of hive you want to build, it’s time to gather the materials needed for construction. Here is a list of the basic materials you will need:
- Wood: Choose a durable and weather-resistant wood, such as cedar or pine, for the hive boxes and frames.
- Nails or Screws: Use galvanized nails or screws to assemble the hive components.
- Foundation: You will need foundation sheets or starter strips for the bees to build their comb on.
- Hardware Cloth: This will be used to create a bottom board with ventilation.
- Roofing Material: Choose a material that will provide protection from the elements, such as metal or waterproof fabric.
- Tools: You will need basic woodworking tools, such as a saw, drill, and hammer, to construct the hive.
Construction Steps
Now that you have all the necessary materials, let’s dive into the construction process. Here are the general steps to follow:
Step 1: Build the Hive Boxes
Start by cutting the wood into the appropriate sizes for the hive boxes. Assemble the boxes using nails or screws, making sure they are sturdy and well-constructed.
Step 2: Add Frames or Bars
If you are building a Langstroth hive, you will need to add frames to the hive boxes. For top-bar hives or Warre hives, you will need to add bars across the top of the boxes.
Step 3: Install the Bottom Board
Create a bottom board using the hardware cloth to provide ventilation for the hive. This will help regulate the temperature and humidity inside the hive.
Step 4: Attach the Roof
Secure the roofing material to the top of the hive to protect it from the elements. Make sure the roof is securely attached and provides adequate protection.
Step 5: Add the Foundation
If you are using foundation sheets, insert them into the frames or attach them to the top bars. This will provide a base for the bees to build their comb on.
Best Practices
When constructing your beehive, it’s important to keep a few best practices in mind:
- Use non-toxic materials: Bees are sensitive creatures, so it’s important to use non-toxic materials in the construction of your hive.
- Ensure proper ventilation: Adequate ventilation is essential for the health of the colony. Make sure your hive has proper ventilation to prevent moisture buildup.
- Follow beekeeping regulations: Before starting your beekeeping journey, familiarize yourself with any local regulations or requirements.
- Regular maintenance: Once your hive is constructed, make sure to regularly inspect and maintain it to ensure the health and productivity of the colony.
Conclusion
Building your own beehive can be a rewarding and fulfilling experience. By following the steps outlined in this guide and using the appropriate materials, you’ll be on your way to creating a safe and comfortable home for your bees. Remember to always prioritize the well-being of your bees and enjoy the journey of beekeeping!


