Are you ready to embark on a journey of green thumb greatness? Look no further than DIY seed starting kits made from recycled materials! Not only will you be doing your part for the environment, but you’ll also save some green in the process. In this article, we’ll walk you through the materials you’ll need, provide step-by-step instructions for building your own seed starting kit, and offer tips for successful seed germination. Let’s get started!
Gather Your Materials
Before you can start building your seed starting kit, you’ll need a few key materials. Don’t worry, we’re all about repurposing, so these items can easily be found around your home:
- Plastic containers: Think yogurt cups, takeout containers, or even plastic bottles. Just make sure they have drainage holes.
- Trays or shallow containers: These will serve as the base for your seed starting setup. Old baking trays or even the bottom of milk cartons work perfectly.
- Seed starting mix: You can purchase this from your local garden center or make your own by combining equal parts compost, vermiculite, and peat moss.
- Seeds: Choose the plants you want to grow and make sure they are suitable for indoor seed starting.
- Labels: You’ll want to keep track of what you’re growing, so grab some popsicle sticks or old plastic cutlery to use as labels.
- A spray bottle: This will come in handy for watering your seeds without disturbing them.
Building Your Seed Starting Kit
Now that you have your materials ready, it’s time to put them to good use. Follow these step-by-step instructions to create your own DIY seed starting kit:
- Prepare your containers: Clean and sanitize your plastic containers to ensure a healthy environment for your seeds.
- Add drainage holes: Use a small nail or a heated skewer to poke holes in the bottom of each container. This will prevent water from pooling and causing root rot.
- Fill the containers: Fill each container with the seed starting mix, leaving about half an inch of space at the top.
- Sow your seeds: Follow the instructions on your seed packets for proper planting depth and spacing. Gently press the seeds into the soil and cover them with a thin layer of the seed starting mix.
- Label your containers: Place your labels in each container, making sure to write down the name of the plant and the date of planting. This will help you keep track of your progress.
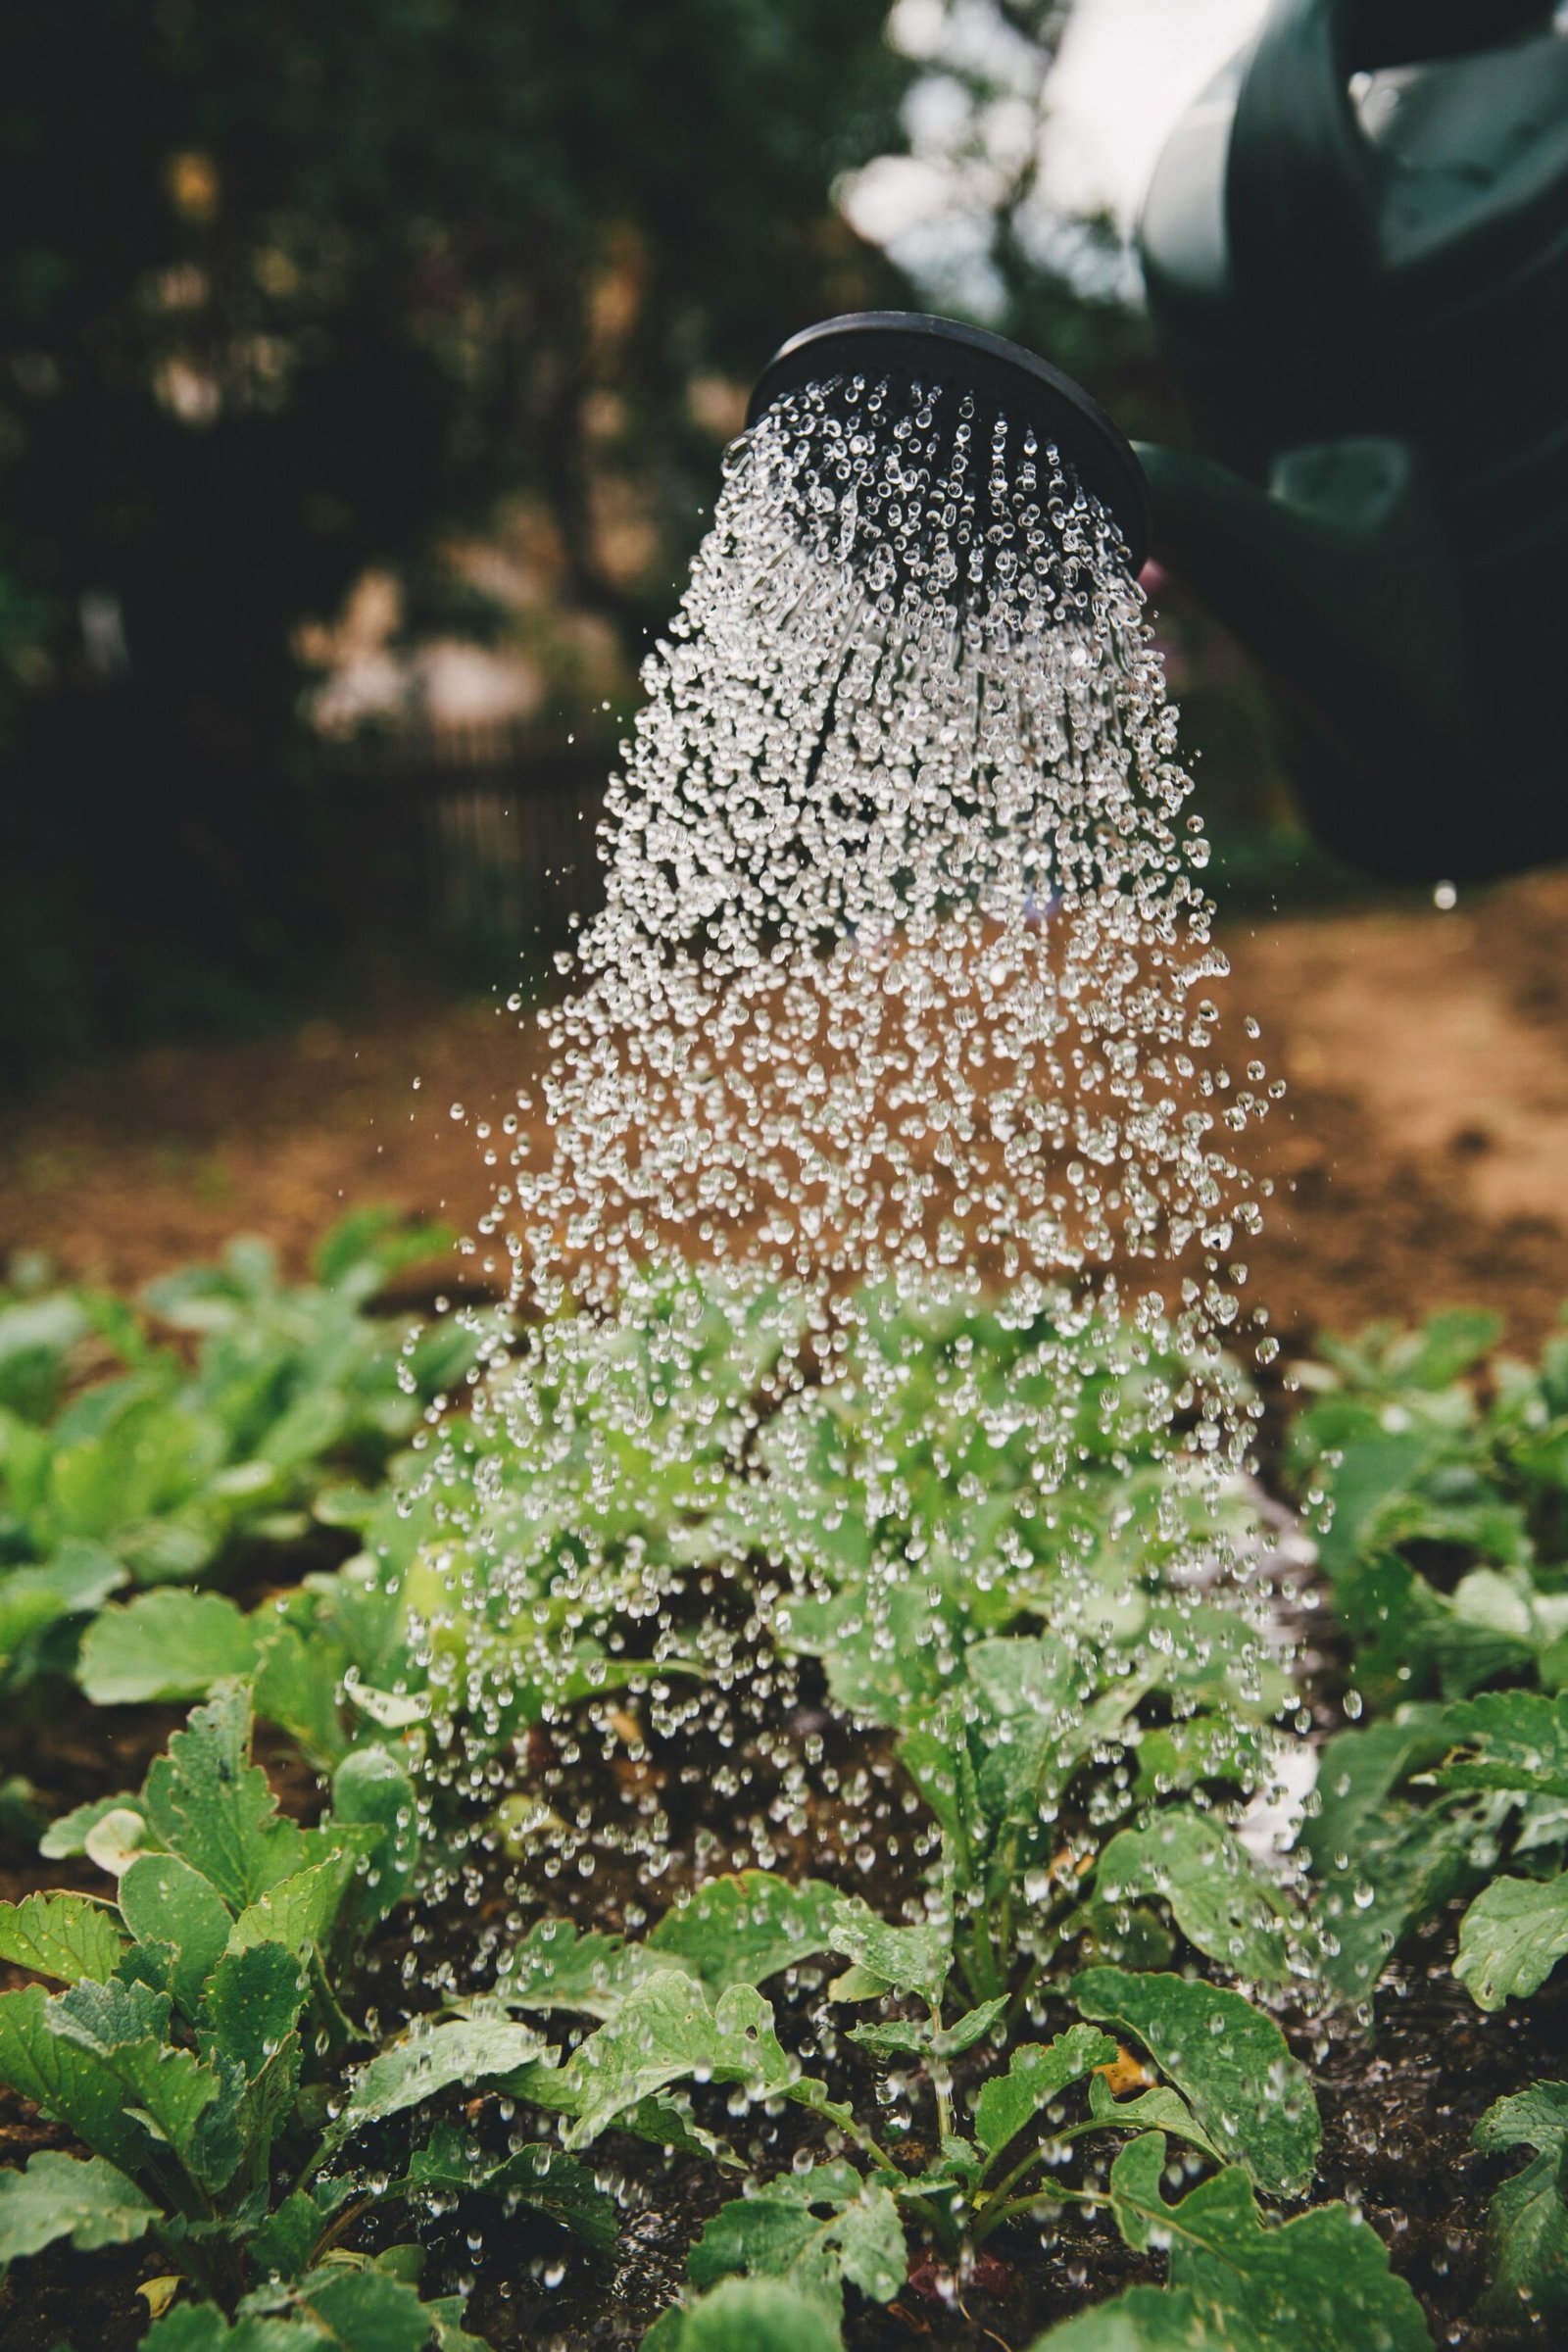
- Mist your seeds: Use the spray bottle to moisten the soil, being careful not to overwater. Remember, seeds need moisture to germinate, but they also need oxygen.
- Cover and wait: Place a clear plastic lid or a plastic bag over your containers to create a mini greenhouse effect. This will help retain moisture and create a warm environment for germination.
- Provide light and warmth: Place your seed starting kit in a warm spot, ideally near a sunny window or under a grow light. Seeds need light to grow, so make sure they receive at least 12 hours of bright light each day.
- Water and watch: Check your seed starting kit daily and mist the soil whenever it feels dry. Be patient, as germination times can vary depending on the plant.
Tips for Successful Seed Germination
Now that your DIY seed starting kit is complete, here are some tips to ensure successful seed germination:
- Timing is everything: Research the optimal time to start each type of seed. Some plants need a longer growing season, while others can be started closer to the last frost date.
- Keep it warm: Seeds germinate best in a warm environment, so consider using a seedling heat mat if your home is on the cooler side.
- Don’t drown your seeds: Overwatering can lead to damping-off disease and other fungal problems. Use the misting technique mentioned earlier to keep the soil consistently moist but not waterlogged.
- Thin out seedlings: Once your seeds have germinated and grown their first set of true leaves, thin out the weaker seedlings to give the stronger ones room to grow.
- Harden off before transplanting: Before moving your seedlings outdoors, gradually expose them to outdoor conditions over the course of a week. This will help them adjust to the change in environment.
With your DIY seed starting kit and these tips in hand, you’re well on your way to becoming a master seed starter. So go ahead, get your hands dirty, and watch your recycled materials sprout new life!


